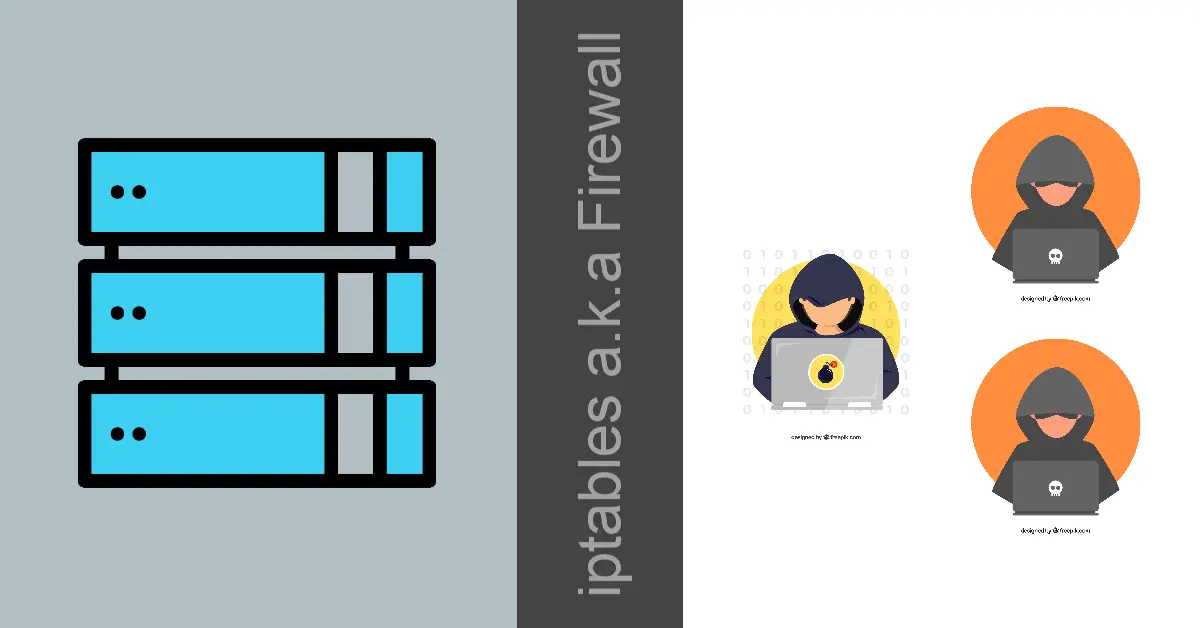
iptables is a command-line firewall utility that allows a system administrator to configure the IP packet filter rules made possible by the Netfilter modules complied into the Linux Kernel. The rules are kept to a bare minimum on the firewall allowing SSH connections, web server HTTP/ HTTPS and ICMP ping only. You can only administer iptables as sudo user.
Establish Emergency Access to Server
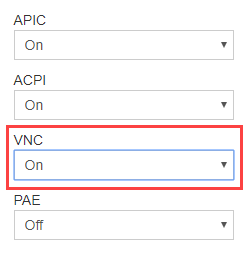
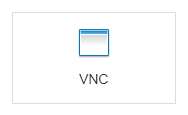
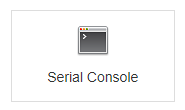
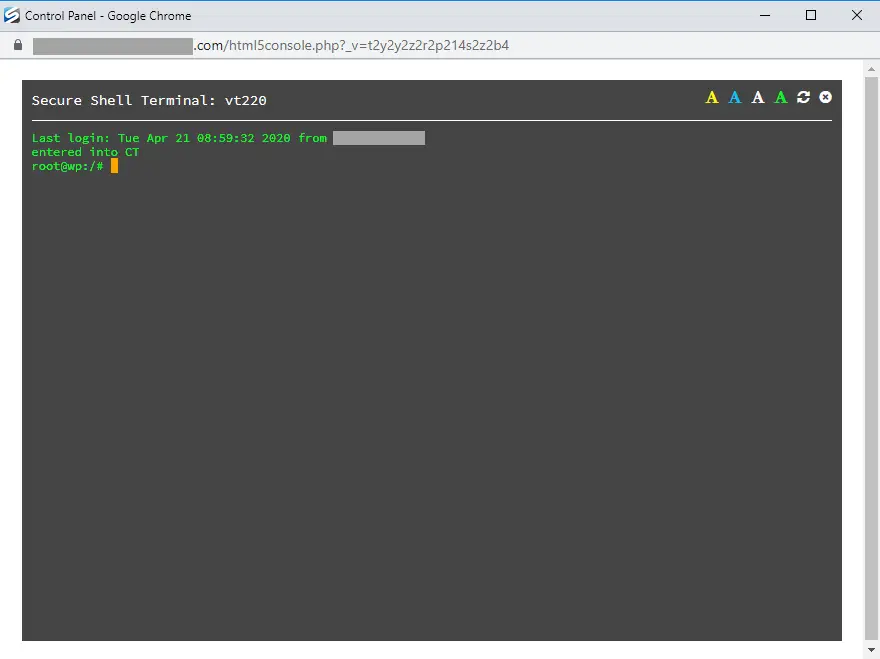
Before we start to deploy firewall rules, it is important to determine and test alternate access to your server without connecting through SSH standard Port 22. This is because you may get lock out of your current SSH session and not be able to reconnect if we implement the ‘close all ports except‘ policy. Most VPS (Virtual Private Server) have some sort of administrative control panel e.g. SolusVM. Some label the emergency access as VNC while others as Serial Console but both have similar purpose and that is to provide you with an SSH window to administer your server even if Port 22 is blocked. The randomly generated username and password which last one hour is only useful when you use external SSH client or else browser terminal like HTML 5 Console is usually preferred over Java Console.

Basic Firewall Rules in ‘Close All Ports Except’ Policies
These are some of the common rules that we will deploy to setup a simple firewall when we first gotten access to a server. Don’t be in a hurry to enter these rules yet! This command iptables -P INPUT DROP will drop you out of your current SSH session and you will require serial console to gain access to update the rule back to iptables -P INPUT ACCEPT before you can reconnect via SSH again.
# Flush all existing rules
iptables -F

# Set 'close all ports' chain policies
iptables -P INPUT DROP
iptables -P FORWARD DROP
iptables -P OUTPUT DROP

# Accept Established and Related incoming connections
iptables -A INPUT -m conntrack --ctstate ESTABLISHED,RELATED -j ACCEPT
iptables -A OUTPUT -m conntrack --ctstate ESTABLISHED -j ACCEPT

# Accept all incoming SSH
iptables -A INPUT -p tcp --dport 22 -m conntrack --ctstate NEW,ESTABLISHED -j ACCEPT

# Accept all incoming HTTP
iptables -A INPUT -p tcp --dport 80 -m conntrack --ctstate NEW,ESTABLISHED -j ACCEPT

# Accept all incoming HTTPS
iptables -A INPUT -p tcp --dport 443 -m conntrack --ctstate NEW,ESTABLISHED -j ACCEPT

# Accept incoming PING
iptables -A INPUT -p icmp --icmp-type echo-request -j ACCEPT

# Accept loopback access
iptables -A INPUT -i lo -j ACCEPT

# Required or apt-get cannot initiate the connection to deb.debian.org:80
iptables -A OUTPUT -p tcp --dport 80 -m conntrack --ctstate NEW -j ACCEPT

# Required or apt-get temporary failure resolving 'deb.debian.org'
iptables -A OUTPUT -p udp --dport 53 -m conntrack --ctstate NEW -j ACCEPT
Port 80 and 443 allow visitors to access your website and ICMP ping is often useful to check if your server is up and network latency using traceroute. The last two rules are required for apt-get to initiate connection and resolve domain to fetch updates from Debian repository.
Using iptables-restore to Import Rules
Create a file e.g. fw-rules with these firewall rules and restore (import) them to overwrite the current iptables. Remember to update the SSH port if you are not using the standard port 22. Do exclude Port 80 (HTTP) and 443 (HTTPS) if you are not planning to run a web server e.g. Apache or Nginx
user@server:~$ vi fw-rules*filter
:INPUT DROP
:FORWARD DROP
:OUTPUT DROP
-A INPUT -m conntrack --ctstate ESTABLISHED,RELATED -j ACCEPT
-A OUTPUT -m conntrack --ctstate ESTABLISHED -j ACCEPT
-A INPUT -p tcp --dport 22 -m conntrack --ctstate NEW,ESTABLISHED -j ACCEPT
-A INPUT -p tcp --dport 80 -m conntrack --ctstate NEW,ESTABLISHED -j ACCEPT
-A INPUT -p tcp --dport 443 -m conntrack --ctstate NEW,ESTABLISHED -j ACCEPT
-A INPUT -p icmp --icmp-type echo-request -j ACCEPT
-A INPUT -i lo -j ACCEPT
# Required or apt-get cannot initiate the connection to mirrors.digitalocean.com:80
-A OUTPUT -p tcp --dport 80 -m conntrack --ctstate NEW -j ACCEPT
# Required or apt-get temporary failure resolving 'mirrors.digitalocean.com'
-A OUTPUT -p udp --dport 53 -m conntrack --ctstate NEW -j ACCEPT
COMMITuser@server:~$ sudo iptables-restore < fw-rulesYour current SSH session should remain connected when you execute iptables-restore because you had allowed port 22. You can list your rules for your first firewall with iptables -L
user@server:~$ sudo iptables -L
Chain INPUT (policy DROP)
target     prot opt source               destination
ACCEPT     all  --  anywhere             anywhere             ctstate RELATED,ESTABLISHED
ACCEPT     tcp  --  anywhere             anywhere             tcp dpt:ssh ctstate NEW,ESTABLISHED
ACCEPT     tcp  --  anywhere             anywhere             tcp dpt:http ctstate NEW,ESTABLISHED
ACCEPT     tcp  --  anywhere             anywhere             tcp dpt:https ctstate NEW,ESTABLISHED
ACCEPT     icmp --  anywhere             anywhere             icmp echo-request
ACCEPT     all  --  anywhere             anywhere

Chain FORWARD (policy DROP)
target     prot opt source               destination

Chain OUTPUT (policy DROP)
target     prot opt source               destination
ACCEPT     all  --  anywhere             anywhere             ctstate ESTABLISHED
ACCEPT     tcp  --  anywhere             anywhere             tcp dpt:http ctstate NEW
ACCEPT     udp  --  anywhere             anywhere             udp dpt:domain ctstate NEW
iptables-persistent Firewall for Debian/Ubuntu
iptables works ‘on-the-fly’. Whatever rules you add via the command line will take effect instantly. For example, if your website is inaccessible, all you need to do is to type iptables -A INPUT -p tcp –dport 80 -m conntrack –ctstate NEW,ESTABLISHED -j ACCEPT via the command line. Then do a page reload on your browser and you will be able to view the website. However, rules stored in iptables are not persistent, they will be deleted (flushed) on next server reboot. Install iptables-persistent package to save the existing rules to a file and load it on every startup.
sudo apt-get install iptables-persistentSelect <Yes> when you are prompted to save your current iptables IPv4 rules to /etc/iptables/rules.v4 which will then be loaded automatically during system startup. You can Select <No> for IPv6 rules.
Perform a server restart with sudo shutdown -r now and verify that your firewall rules are loaded during startup with sudo iptables -L. For future rules update, you should perform a iptables-save but is recommended that you backup the old rules iptables-save > /etc/iptables/rules.v4-backup in case you encounter problems with the new rules.
iptables-save > /etc/iptables/rules.v4Conclusion
This tutorial has shown us how to build a very basic firewall with ‘close all except’ policies, then making it load on every startup with iptables-persistent. There are more advanced and stricter rules which can be used to beef up the firewall. For example, allow SSH connections from specific IP or subnet, block an IP address or even brute-force protection by limiting connections per second. Another good practice is to change SSH to non-standard Port 22 and disallow root login. By doing so, together with the iptables setup will enhance server security to a certain extent.