When you subscribe to a Linux VPS (Virtual Private Server) from any host providers, the default firewall rule is to accept all incoming connections to any ports hence you can connect via Port 22 using a SSH telnet client like PuttY. Once connected to the server, you will probably verify the storage and memory is what you paid for. Before you start to deploy your services (e.g. Apache), you should at least complete these steps to secure your server.
Step 1 – Set Default Root Password to Something Else
Most of the time, you will receive the login credentials via email once the host provider received your payment. The first thing you should do is to reset the root password to something else which you can easily remember but still keeping it complex.
root@server:~# passwd
Enter new UNIX password:
Step 2 – Create New sudo User
We will need to create a new superuser account since we are going to disallow user root from logging in. Replace ‘username‘ with any name you like. Remember to set a strong password for this new user and it should not be the same as the root password. You can press ‘Enter‘ key for all information fields to leave them blank. Another suggestion is to have individual user account that relates to each hosted website on the server. For example,
- Username hello – /home/user/hello/(website ‘hello‘ content)
- Username world – /home/user/world/(website ‘world‘ content)
root@server:~# adduser username

Enter new UNIX password:
Retype new UNIX password:
passwd: password updated successfully
Changing the user information for username
Enter the new value, or press ENTER for the default
        Full Name []:
        Room Number []:
        Work Phone []:
        Home Phone []:
        Other []:
Is the information correct? [Y/n]
Next, we assign sudo admin rights to this new user. This is necessary because this new user will take over the administrative duties of the root user which includes creating additional users and running server updates etc.
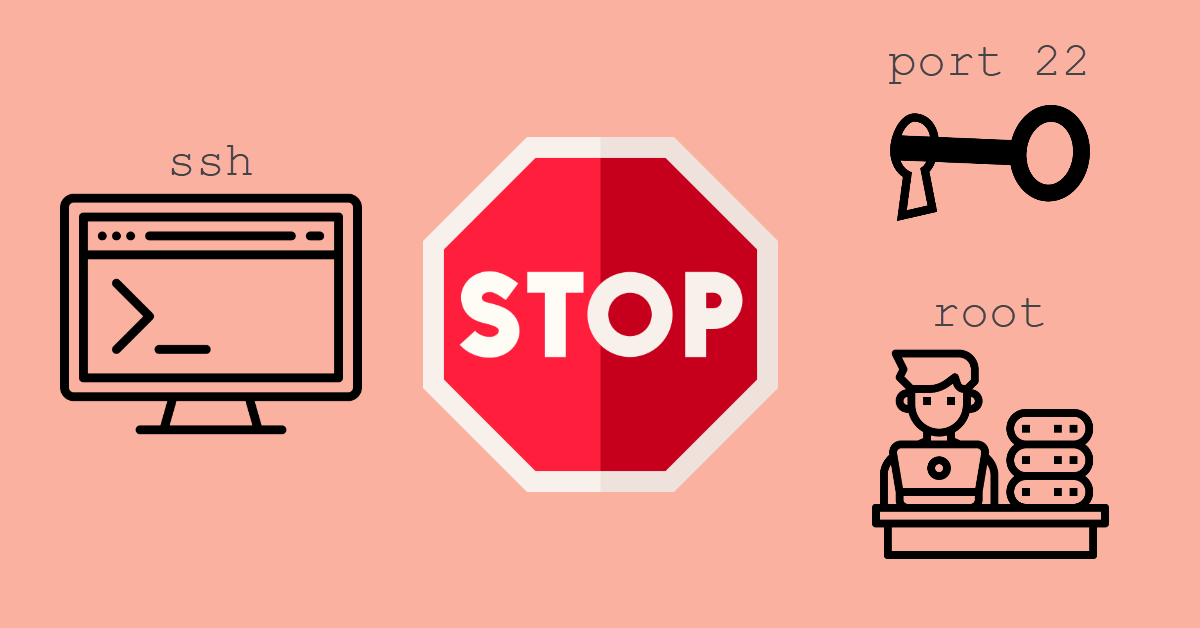
root@server:~# usermod -aG sudo usernameStep 3 – Change to Non-standard Port and Disallow Root login
Hackers are opportunist and they will try to knock on your server door via SSH default port 22 to initiate brute-force attack. Therefore, you should change the port to an unprivileged port number, e.g. from 1024 to 65536. Next, PermitRootLogin no will deny all SSH connection requests with username root even if it matches the new unprivileged port number.
root@server:~$ vi /etc/ssh/sshd_configAdd these two lines to sshd_config if you cannot find them and make sure they are uncommented. Remember to change ‘2223’ to your lucky number.
Port 2223
PermitRootLogin no
Step 4 – Restart SSH Service
The port change and deny root access will only take effect after you restart SSH service.
# Debian | Ubuntu | Linux Mint
root@server:~$ systemctl restart ssh
# RHEL | CentOS v7/v8 | Fedora
root@server:~$ systemctl restart sshd.service
Step 5 – Test SSH Connections with New Changes
In e.g. your PuTTy client, conduct these four tests.
- Fail – root and previous port number 22
- Fail – root and new port number
- Fail – New user name and previous port number 22
- Success – New user name and new port number
Conclusion
This is a pretty straightforward guide to secure your incoming SSH connections. By doing so, you have reduced the attack surface for brute-force attackers. They will have to guess port number, username and password. You can also opt for SSH Public keys for authentication which uses cryptography over simple passwords.