Introduction
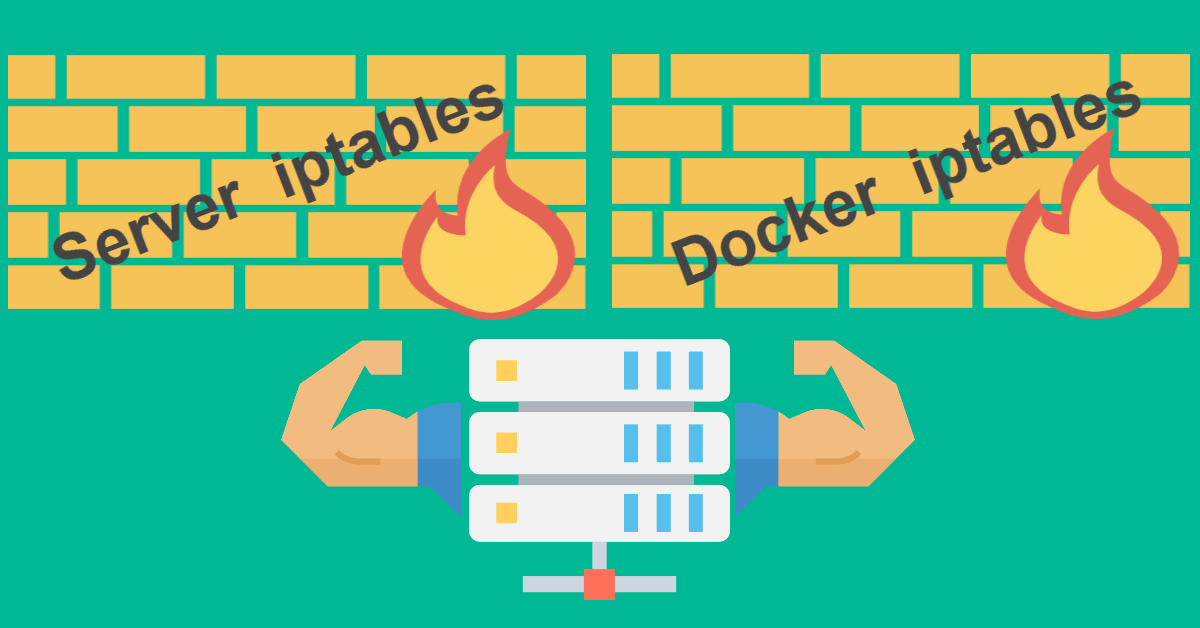
Docker is widely used to place applications in containers. One of the reasons why Docker is so popular is because of security thanks to its isolation capabilities. For example, it allows you to isolate applications from each other. Installing Docker Engine will add preset firewall rules to iptables and it is also smart enough to add additional necessary firewall rules associated with the ports defined for your containers when you start up the containers. In the example below, Docker will add firewall rules for e.g. Port 80 (HTTP) and 443 (HTTPS) when you spin up a Apache or nginx container. In this tutorial, we will enhance the iptables without interfering with the Docker default firewall rules.
-A POSTROUTING -s 172.18.0.4/32 -d 172.18.0.4/32 -p tcp -m tcp --dport 443 -j MASQUERADE
-A POSTROUTING -s 172.18.0.4/32 -d 172.18.0.4/32 -p tcp -m tcp --dport 80 -j MASQUERADE
-A DOCKER ! -i br-10e4bb630db4 -p tcp -m tcp --dport 443 -j DNAT --to-destination 172.18.0.4:443
-A DOCKER ! -i br-10e4bb630db4 -p tcp -m tcp --dport 80 -j DNAT --to-destination 172.18.0.4:80
-A DOCKER -d 172.18.0.4/32 ! -i br-10e4bb630db4 -o br-10e4bb630db4 -p tcp -m tcp --dport 443 -j ACCEPT
-A DOCKER -d 172.18.0.4/32 ! -i br-10e4bb630db4 -o br-10e4bb630db4 -p tcp -m tcp --dport 80 -j ACCEPT
Prerequisites
To follow this tutorial, you will need:
- sudo privileges to your user to update iptables.
- A server running Docker Engine else please follow the guide here for installation.
- Brief understanding of how firewall rules and iptables works
Step 1 – Backup Docker Default Firewall Rules
After you had installed Docker Engine with apt-get, a list of preset firewall rules are added into iptables. You should backup this default Docker iptables with iptables-save before adding new rules.
$ sudo apt-get update
$ sudo apt-get install docker-ce docker-ce-cli containerd.io
$ sudo iptables-save > docker-fwrules-default
Below is a summary of Docker default rules on a clean virtual machine (VM) installed with Docker version 19.03.8 on Ubuntu 18.04.3 LTS.
*nat
:PREROUTING ACCEPT [28:1367]
:INPUT ACCEPT [28:1367]
:OUTPUT ACCEPT [1:120]
:POSTROUTING ACCEPT [1:120]
:DOCKER - [0:0]
-A PREROUTING -m addrtype --dst-type LOCAL -j DOCKER
-A OUTPUT ! -d 127.0.0.0/8 -m addrtype --dst-type LOCAL -j DOCKER
-A POSTROUTING -s 172.17.0.0/16 ! -o docker0 -j MASQUERADE
-A DOCKER -i docker0 -j RETURN
COMMIT
# Completed on Wed Apr 29 06:52:49 2020
# Generated by iptables-save v1.6.1 on Wed Apr 29 06:52:49 2020
*filter
:INPUT ACCEPT [124:7403]
:FORWARD DROP [0:0]
:OUTPUT ACCEPT [90:9443]
:DOCKER - [0:0]
:DOCKER-ISOLATION-STAGE-1 - [0:0]
:DOCKER-ISOLATION-STAGE-2 - [0:0]
:DOCKER-USER - [0:0]
-A FORWARD -j DOCKER-USER
-A FORWARD -j DOCKER-ISOLATION-STAGE-1
-A FORWARD -o docker0 -m conntrack --ctstate RELATED,ESTABLISHED -j ACCEPT
-A FORWARD -o docker0 -j DOCKER
-A FORWARD -i docker0 ! -o docker0 -j ACCEPT
-A FORWARD -i docker0 -o docker0 -j ACCEPT
-A DOCKER-ISOLATION-STAGE-1 -i docker0 ! -o docker0 -j DOCKER-ISOLATION-STAGE-2
-A DOCKER-ISOLATION-STAGE-1 -j RETURN
-A DOCKER-ISOLATION-STAGE-2 -o docker0 -j DROP
-A DOCKER-ISOLATION-STAGE-2 -j RETURN
-A DOCKER-USER -j RETURN
COMMIT
Your default rules may differ slightly from above. Moreover, if you have live containers running on your server, additional firewall rules are likely to be added to iptables to make your containers work. Hence, it is recommended that you temporarily stop and remove all running containers before doing iptables backup.
$ sudo docker stop $(sudo docker ps -aq)
$ sudo docker rm $(sudo docker ps -aq)
$ sudo iptables-save > docker-fwrules-default
Step 2 – Add Server-side Firewall Rules
These additional firewall rules with ‘close all ports except‘ policy will complement Docker own rules to strengthen your server network security. The two lines -m conntrack are standards to accept trusted established connections. Port 22 is for SSH connections. Port 80 (HTTP) and 443 (HTTPS) are commented off because we are unlikely to deploy server-side web server (e.g. Apache or nginx). We should dockerize such services instead. ICMP ping is useful for 3rd party services to monitor your server up-time and network latency. The last three OUTPUT(s) are required for apt-get to initiate connections and resolve DNS to Ubuntu and Docker repository.
*filter
:INPUT DROP
:FORWARD DROP
:OUTPUT DROP
-A INPUT -m conntrack --ctstate ESTABLISHED,RELATED -j ACCEPT
-A OUTPUT -m conntrack --ctstate ESTABLISHED -j ACCEPT
-A INPUT -p tcp --dport 22 -m conntrack --ctstate NEW,ESTABLISHED -j ACCEPT
#-A INPUT -p tcp --dport 80 -m conntrack --ctstate NEW,ESTABLISHED -j ACCEPT
#-A INPUT -p tcp --dport 443 -m conntrack --ctstate NEW,ESTABLISHED -j ACCEPT
-A INPUT -p icmp --icmp-type echo-request -j ACCEPT
-A INPUT -i lo -j ACCEPT
# Required or apt-get cannot initiate the connection to mirrors.digitalocean.com:80
-A OUTPUT -p tcp --dport 80 -m conntrack --ctstate NEW -j ACCEPT
# Required or apt-get cannot initiate the connection to download.docker.com:443
-A OUTPUT -p tcp --dport 443 -m conntrack --ctstate NEW -j ACCEPT
# Required or apt-get temporary failure resolving 'mirrors.digitalocean.com'
-A OUTPUT -p udp --dport 53 -m conntrack --ctstate NEW -j ACCEPT
Step 3 – The Combined iptables
These are the consolidated firewall rules. If you are still on Port 22 for SSH connections, then you should change it to an unprivileged port number, e.g. from 1024 to 65536 to minimize the attack surface of many brute force programs. Remember to use serial console from your VPS management if you get yourself locked out for whatever reasons.
$ cp docker-fwrules-default docker-fwrules-v2
$ vi docker-fwrules-v2
Under *filter, modify :INPUT ACCEPT to :INPUT DROP and :OUTPUT ACCEPT to :OUTPUT DROP. Then add the server-side based firewall rules after the line :DOCKER – [0:0] and before -A FORWARD -j DOCKER-USER
*nat
:PREROUTING ACCEPT [28:1367]
:INPUT ACCEPT [28:1367]
:OUTPUT ACCEPT [1:120]
:POSTROUTING ACCEPT [1:120]
:DOCKER - [0:0]
-A PREROUTING -m addrtype --dst-type LOCAL -j DOCKER
-A OUTPUT ! -d 127.0.0.0/8 -m addrtype --dst-type LOCAL -j DOCKER
-A POSTROUTING -s 172.17.0.0/16 ! -o docker0 -j MASQUERADE
-A DOCKER -i docker0 -j RETURN
COMMIT
# Completed on Wed Apr 29 06:52:49 2020
# Generated by iptables-save v1.6.1 on Wed Apr 29 06:52:49 2020
*filter
:INPUT ACCEPT [124:7403]
:FORWARD DROP [0:0]
:OUTPUT ACCEPT [90:9443]
:DOCKER - [0:0]
:DOCKER-ISOLATION-STAGE-1 - [0:0]
:DOCKER-ISOLATION-STAGE-2 - [0:0]
:DOCKER-USER - [0:0]
-A INPUT -m conntrack --ctstate ESTABLISHED,RELATED -j ACCEPT
-A OUTPUT -m conntrack --ctstate ESTABLISHED -j ACCEPT
-A INPUT -p tcp --dport 22 -m conntrack --ctstate NEW,ESTABLISHED -j ACCEPT
-A INPUT -p icmp --icmp-type echo-request -j ACCEPT
-A INPUT -i lo -j ACCEPT
# Required or apt-get cannot initiate the connection to mirrors.digitalocean.com:80
-A OUTPUT -p tcp --dport 80 -m conntrack --ctstate NEW -j ACCEPT
# apt-get update: Cannot initiate the connection to download.docker.com:443
-A OUTPUT -p tcp --dport 443 -m conntrack --ctstate NEW -j ACCEPT
# Required or apt-get temporary failure resolving 'mirrors.digitalocean.com'
-A OUTPUT -p udp --dport 53 -m conntrack --ctstate NEW -j ACCEPT
-A FORWARD -j DOCKER-USER
-A FORWARD -j DOCKER-ISOLATION-STAGE-1
-A FORWARD -o docker0 -m conntrack --ctstate RELATED,ESTABLISHED -j ACCEPT
-A FORWARD -o docker0 -j DOCKER
-A FORWARD -i docker0 ! -o docker0 -j ACCEPT
-A FORWARD -i docker0 -o docker0 -j ACCEPT
-A DOCKER-ISOLATION-STAGE-1 -i docker0 ! -o docker0 -j DOCKER-ISOLATION-STAGE-2
-A DOCKER-ISOLATION-STAGE-1 -j RETURN
-A DOCKER-ISOLATION-STAGE-2 -o docker0 -j DROP
-A DOCKER-ISOLATION-STAGE-2 -j RETURN
-A DOCKER-USER -j RETURN
COMMIT
Once you are satisfied with the combined iptables, you can use iptables-restore to reload the existing rules.
$ sudo iptables-restore < docker-fwrules-v2As mentioned before, if you had any active running containers beforehand, it is a good time to spin them up and check that everything is in order. You can always revert back to the iptables backup docker-fwrules-default if not.
Step 4 – iptables-persistent to Load Firewall on Startup
Rules stored in iptables are not persistent, they will be deleted (flushed) on next server reboot. Install iptables-persistent package to save the existing rules to a file and load it on every startup. Select <Yes> when you are prompted to save your current IPv4 rules to /etc/iptables/rules.v4 which will then be loaded automatically during system startup. You can select <No> for IPv6 rules.
$ sudo apt-get install iptables-persistentYou should use iptables-save to overwrite the current saved rules.v4 for new changes to load on every startup. If you encounter Permisison denied, do a sudo bash to change to root.
$ sudo iptables-save > /etc/iptables/rules.v4
-bash: /etc/iptables/rules.v4: Permission denied
$ sudo bash
# iptables-save > /etc/iptables/rules.v4
$ sudo iptables-save > /etc/iptables/rules.v4
Conclusion
By adding these firewall rules, your server security does not increase tenfold. However, every little bit counts. While testing the firewall rules for this tutorial, I also acquired new knowledge such that Docker Engine will auto add firewall rules to iptables whenever I do docker-compose up -d and remove them when I stop all containers. I am still learning iptables and Docker but by having a default drop all policy does makes me feel a tad safer knowing that I have done something to improve the server security.