Background
I have been keeping fishes for more than a year now and this hobby started from my previous job. The thought came when I was assigned a huge L-shaped table when relocated to a new office premise. While other colleagues were keeping potted plants like cactus, I choose to keep fish instead. My buddy and I headed down to this popular aquarium shop called “323 Clementi” and bought a starter kit consisting of a small tank, anti-chlorine and substrate etc. Back to office, my buddy used distilled water from the water dispenser for the guppies that we had bought. From then on, I’ve been keeping various kind of fishes ranging from Betta and Dwarf cichlids to common fishes like Neon tetras and Danios. I owned four fish tanks now though only one is in use as shown in this fishy adventure of mine. A point to note is that this hobby can be expensive because a pair of Apistogramma (Dwarf Cichlid) once costed me $65.
Step 1 – Materials from Local Bookstore

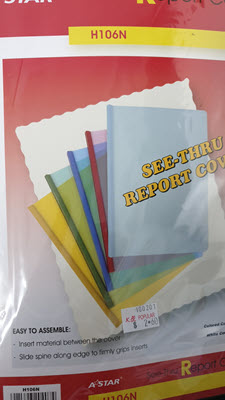

I had considered quite a few possible items before narrowing down to corrugated board for $1.60 from local Popular bookstore. Some of these items already had see through holes but of huge diameter >1cm hence there is a possibility that the Bettas will flare all day long when they see one another through the holes. Hence, I choose the board because I can poke the holes myself plus it is cheap and can be easily cut to size to fit my fish tank. Learning from YouTube videos, I bought a pack of see through report covers for $2.60 which I am going to use the slider to lock the divider in place. One such video used hand-held drill to make holes but as I have no such tool, I had to think of other alternatives. Lucky for me, I went to Daiso and found this “safety gimlet” for $2. The total material cost was $6.20.
Step 2 – Making the Divider

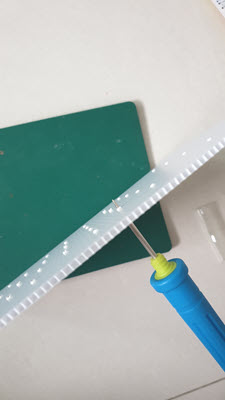
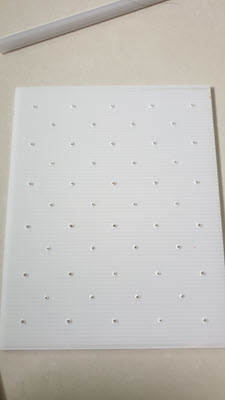
This is pretty straightforward; all we have to do is measure the inner cross section of our fish tank and cut the corrugated board according to the size with a penknife. Next, we use a pencil to draw X – Y grid lines about 3 to 4 cm apart and use the gimlet to poke holes on where the horizontal and vertical lines intersect. Then, we slide two pieces of the report cover holders onto each side of the corrugated board and cut off the excess with a sharp scissors. While trying to fit the completed divider into our fish tank, I discovered two minor issues.


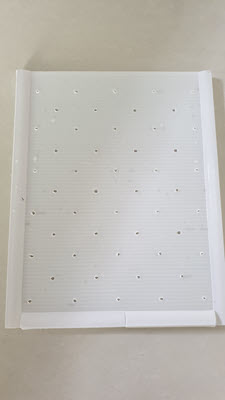
First, the holes were a little too small to my liking. I used another “fatter” screwdriver to go through each hole to widen them so that water can flow through more freely but careful not to the extent that the Bettas can see one another easily. Second, I found out that the corrugated board would float up because of air pockets within it. To make sure it stayed more firmly in its place, I pasted 3 layers of cloth tape at one side of the slider holder. This widen the width thus locking it in place and the rough surfaced cloth tape increase the friction against the glass so it will not slide upwards easily.
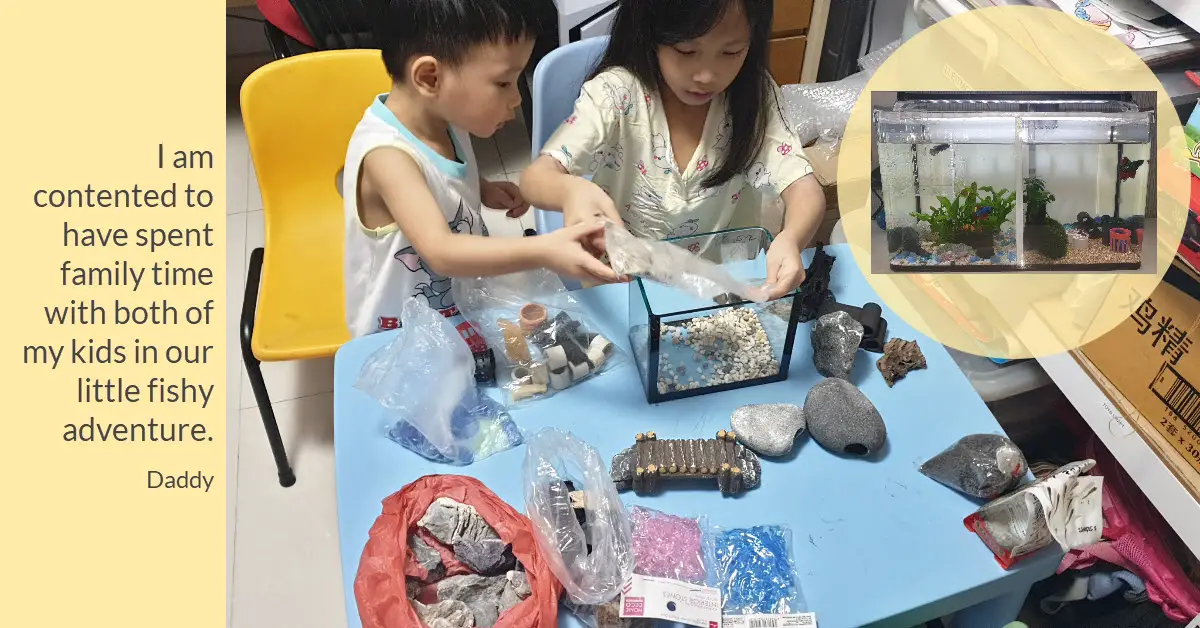
Step 3 – Kids Get Creative with Aquascaping

I took out all of the ornaments, substrate and stones and laid them on the table for my children to design their aquarium space. In addition, I had also purchased two packs of colorful stones from Daiso for $4 in hope to get them more interested into decorating the fish tank. Surprisingly, both of them quickly settled down on their choice of substrate and started aquascaping in their temporarily fish tank.


To ensure that they keep their focus, I reminded them a couple of times that whatever they design will eventually be duplicated into the actual larger tank (with the divider). It was great fun watching their creativity in play.
Step 4 – Into the Actual Aquarium
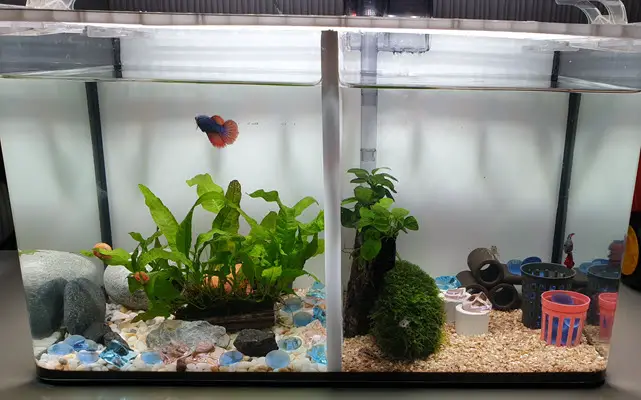
The following day, they washed the substrate with me and poured into their halves in the actual tank before we moved the ornaments and stones carefully over. We filled it up with aged water and left the whole aquarium to settle down over the weekend. We had visited our local fish shop East Ocean Aquatic previously but as there wasn’t many Bettas available so we went to Polyart Aquarium at Chinatown and they had more than forty varieties to choose from! At first, she was disappointed that Uncle told her that male Betta cannot kept with other fishes but females could. She immediately changed her mind to female Bettas and I allowed her to buy two. She also picked up two apple snails. In total, we purchased two female and one male Betta (for my boy) and 2 apple snails.
Conclusion
This is not the first time we had Betta fish in our family. Previously, we had a blue Betta named “Sky” but I moved it to my office. Fishes do not capture my children attention for a long time as they are mostly excited only when they see new fishes in plastic bag waiting to be poured into a tank. This time round, by decorating their own aquarium and choosing their own fishes, I hope they have a sense of belonging and attachment to it. I am proud of myself for I had re-used most of my existing aquarium materials without spending money on new items except the two new packs of colorful stones but most importantly, I am contented to have spent family time with both of my kids in our little fishy adventure.