Introduction
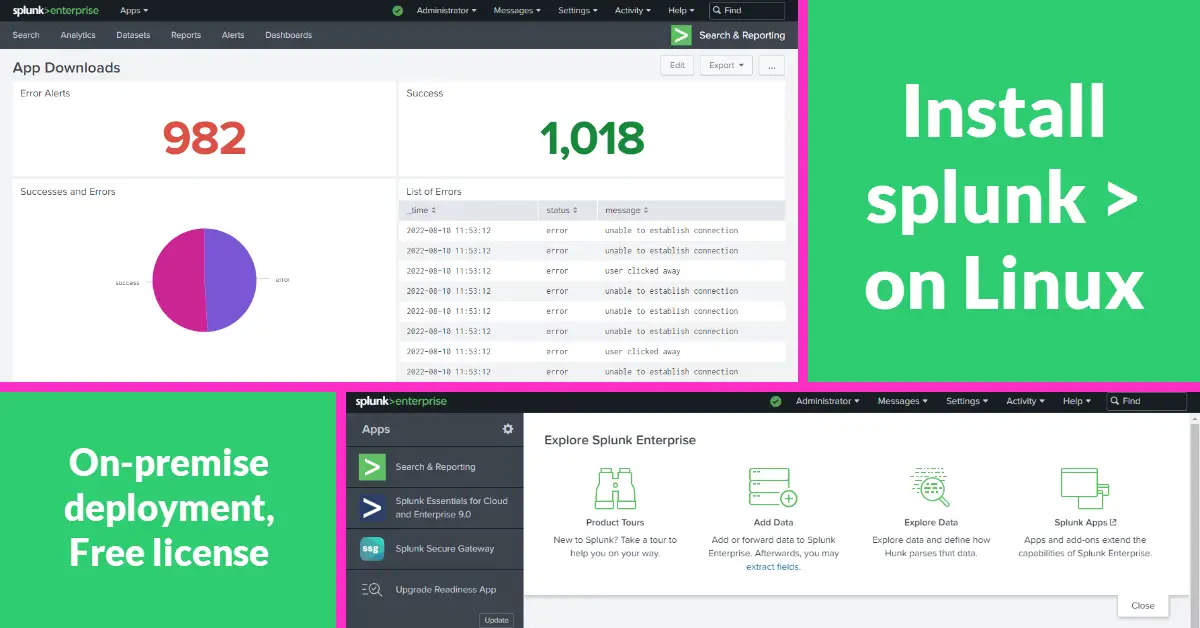
I have heard of Splunk – a log analysis tool but having worked in the IT industry for last 15 years, I never had to work with it. However, one of my new job requirement as a Site Reliability Engineer (SRE) is to work with Splunk. Hence, I took the initiative to set up an on-premise (non-cloud) Splunk Enterprise on my Ubuntu server. The 60-days trial license will be converted to a free license with limited access to Enterprise features after 60 days.
Step 1 – Download Splunk Enterprise for Linux
Click Free Splunk to register a Splunk account. Select Splunk Enterprise Free 60-day Trial and choose Linux. For this tutorial, we will be using Debian/ Ubuntu hence download .deb file. As per Splunk Enterprise on-premises system requirements, the kernel version needs to be above 3.x, and we can type uname -r to check server kernel version.
Step 2 – Install Splunk with Reverse Proxy and Let’s Encrypt SSL
- sudo dpkg -i splunk-9.0.0.1-9e907cedecb1-linux-2.6-amd64.deb
sudo /opt/splunk/bin/./splunk start --accept-license- Create web.conf file with below codes: sudo vi /opt/splunk/etc/system/local/web.conf
[settings]
root_endpoint = /splunk
tools.proxy.on = false
enableSplunkWebSSL = true
privKeyPath = /etc/letsencrypt/live/splunk.example.com/privkey.pem
serverCert = /etc/letsencrypt/live/splunk.example.com/fullchain.pem
#httpport = 8081 # if not using default port 8000- Restart Splunk Web service: sudo /opt/splunk/bin/./splunk restart splunkweb
$ sudo /opt/splunk/bin/./splunk start
Enter your preferred admin and password (you will need them to log in to the web interface later)
NGINX *.conf
- Create NGINX site config file with below codes: sudo vi /etc/nginx/sites-available/splunk.example.com and create a symbolic link using ln -s at /etc/nginx/sites-enabled/
# Port 80 http redirect
server {
    listen 80;
    server_name splunk.example.com;

    if ($host = splunk.example.com) {
        return 301 https://$host$request_uri;
    } # managed by Certbot
}

# Port 443 https config
server {
  listen 443 ssl http2;
  server_name splunk.example.com;

  access_log /var/log/nginx/splunk.example-access.log;
  # Either warn or error log level
  error_log /var/log/nginx/splunk.example-error.log warn;

  add_header X-Frame-Options SAMEORIGIN;
  large_client_header_buffers 6 16k;
  client_max_body_size 4M;

  location / {
             proxy_pass_request_headers on;
             proxy_set_header x-real-IP $remote_addr;
             proxy_set_header x-forwarded-for $proxy_add_x_forwarded_for;
             proxy_set_header host $host;
             proxy_pass https://127.0.0.1:8000/; # full SSL implementation
             #proxy_pass http://127.0.0.1:8000/; # non-SSL implementation
         }

    ssl_certificate /etc/letsencrypt/live/splunk.example.com/fullchain.pem; # managed by Certbot
    ssl_certificate_key /etc/letsencrypt/live/splunk.example.com/privkey.pem; # managed by Certbot
}
- Create Let’s Encrypt free SSL certificate: sudo certbot –nginx and this auto-add lines (# managed by Certbot).
- Test the new NGINX config: sudo nginx -t
- If site config is done correctly, restart NGINX server: sudo systemctl restart nginx
- Open browser and enter splunk.example.com or http://<server IP>:8000/
Apache httpd *.conf
<VirtualHost *:80>
    ServerName splunk.example.com

    # Other directives here
    RewriteEngine on
    RewriteCond %{SERVER_NAME} =splunk.example.com
    RewriteRule ^ https://%{SERVER_NAME}%{REQUEST_URI} [END,NE,R=permanent]
</VirtualHost>

<IfModule mod_ssl.c>
<VirtualHost *:443>
    ServerName splunk.example.com

    ProxyPreserveHost On
    ProxyPass / https://127.0.0.1:8001/
    ProxyPassReverse / https://127.0.0.1:8001/

    # Other directives here
    RewriteEngine on

    SSLCertificateFile /etc/letsencrypt/live/splunk.example.com/fullchain.pem
    SSLCertificateKeyFile /etc/letsencrypt/live/splunk.example.com/privkey.pem
    Include /etc/letsencrypt/options-ssl-apache.conf
</VirtualHost>
</IfModule>
# Supplemental configuration
#
# Load config files in the "/etc/httpd/conf.d" directory, if any.
IncludeOptional conf.d/*.conf
# For Splunk error_log: [remote 127.0.0.1:8001] AH01961: SSL Proxy requested for splunk.example.com:443 but not enabled [Hint: SSLProxyEngine]
SSLProxyEngine onCommon Errors during Installation
502 Bad Gateway: proxy_pass https://127.0.0.1:8000/; (not working) and proxy_pass http://127.0.0.1:8000/; (working) or vice versa.
2022/08/09 22:32:17 [error] 24707#24707: *49 SSL_do_handshake() failed (SSL: error:1408F10B:SSL routines:ssl3_get_record:wrong version number) while SSL handshaking to upstream, client: 172.71.94.94, server: splunk.example.com, request: "GET / HTTP/2.0", upstream: "https://127.0.0.1:8000/", host: "splunk.example.com"127.0.0.1 is my localhost and you can type cat /etc/hosts to find the local domain and public IP.
404 Not Found: When enter http://splunk.example.com because we are missing this line server_name splunk.example.com; in Port 80 http redirect section.
/opt/splunk/bin/splunk restart splunkweb > http port [8000] – port is already bound. Splunk needs to use this port: For example, use port 8001 by adding httpport = 8001 into /opt/splunk/etc/system/local/web.conf
/var/log/httpd/error_log > [remote 127.0.0.1:8001] AH01961: SSL Proxy requested for splunk.example.com:443 but not enabled [Hint: SSLProxyEngine]: Add SSLProxyEngine on in httpd.conf
Conclusion
Splunk is fairly easy to install and trust me, to install Tableau Server is harder. I followed an online tutorial on Splunk introduction and found that Splunk is similar to phpMyAdmin because one stores data as logs and the other as SQL databases. Both provide various in-built tools to operate on datasets. While phpMyAdmin lets you do SELECT (find) on a database, Splunk enable use of regex to search pattern matches in logs. It can build charts and graphs for data visualization and piece them together into an informational dashboard.